Trenchless lining problems and warning signs
Wrinkles, fins, failed service connections, and short cures are the trenchless lining problems that surface after the crew leaves. How to spot and price them.
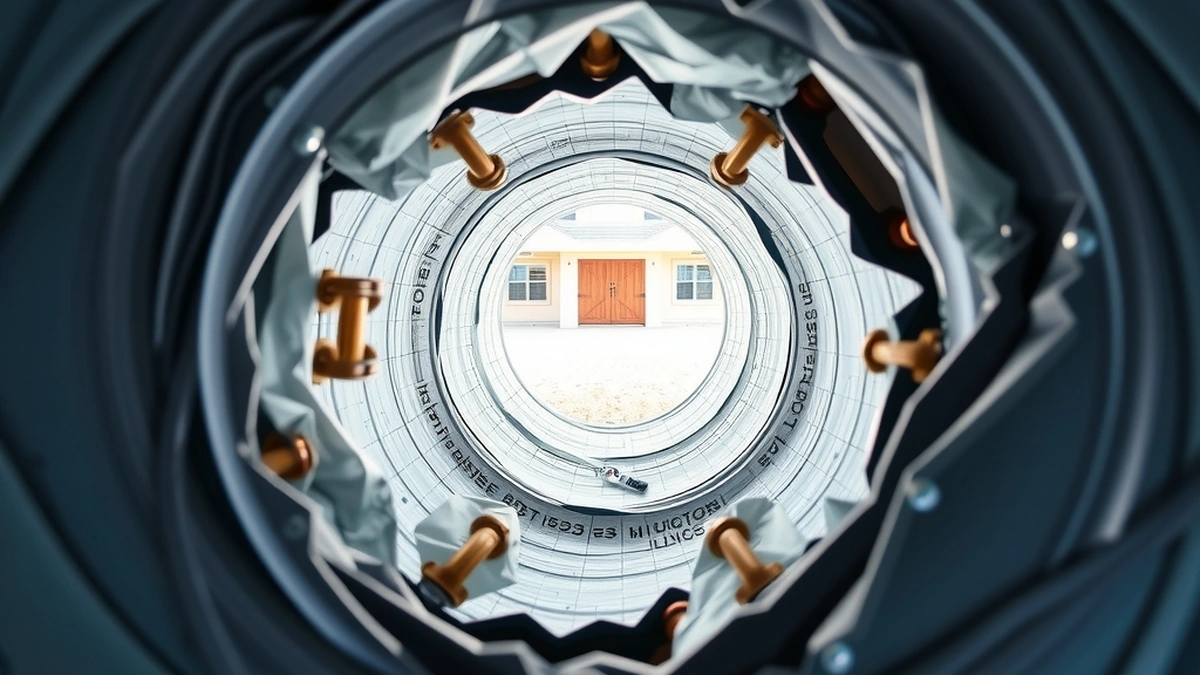
Most trenchless lining problems trace back to preparation, not the resin. Wrinkles, fins, blocked connections, and soft patches show up as repeat backups, fixed at $1,500 to $5,000 or $4,000 to $12,000 to reline.
- Spot repair of a liner defect
- $1,500–$5,000
- Relining the run
- $4,000–$12,000
- Diagnostics camera pass
- $200–$500
- Full replacement if lining fails
- $5,000–$15,000
Some links on this page are affiliate links.If you buy through them we may earn a commission at no extra cost to you. We do not accept payment for rankings. Read the full disclosure.
Trenchless lining problems are defects in a cured-in-place liner that show up as repeat backups, slow drains, or a camera screen that does not look smooth. Most of them are installation failures rather than material failures, which is why the pattern of symptoms matters more than the age of the liner. A lined pipe that backs up within the first year is a warranty conversation, not a maintenance bill.
The defects that actually occur
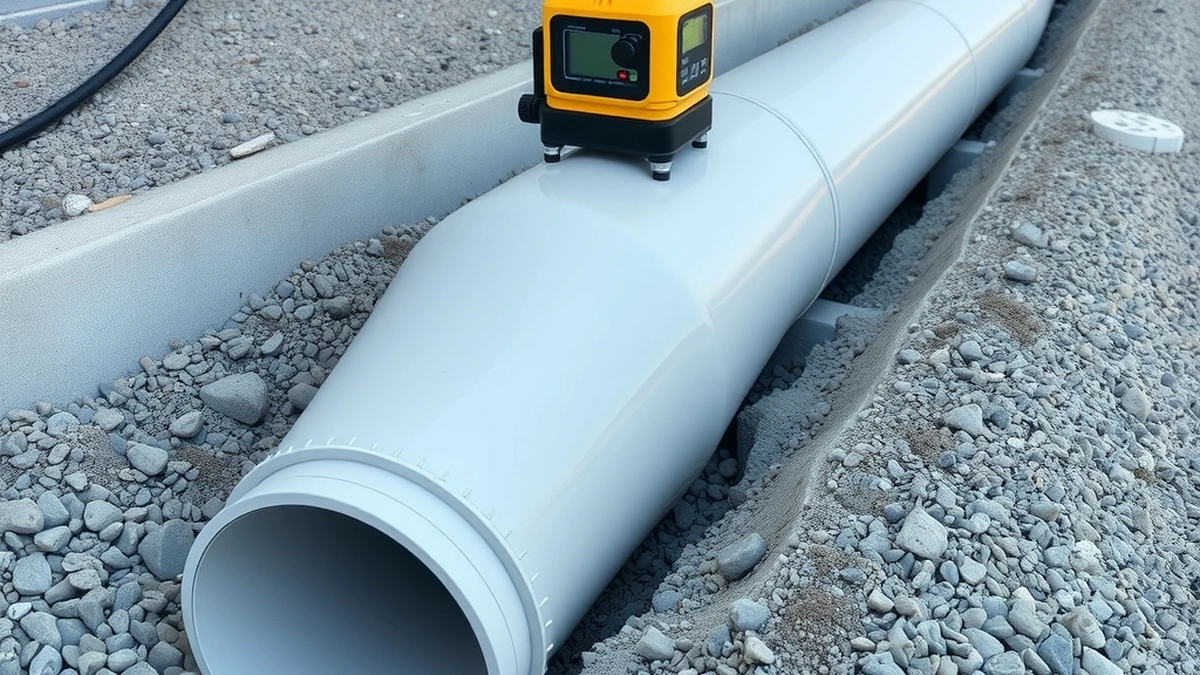
Trenchless lining is a repair method that cures a resin tube against the inside of an existing pipe. The liner is only as good as the surface it cures against and the care taken at the ends and branches.
| Problem | What the camera shows | Usual cause |
|---|---|---|
| Wrinkle or fin | A fold running lengthwise, often at a bend | Liner too large for the bend radius, or insufficient pressure during cure |
| Blocked or partly open branch | A wye with a lip or a closed flap | Cutter did not fully open the connection after cure |
| Soft or uncured patch | Dull, matte surface that deforms under the camera head | Short cure, low temperature, or expired resin |
| Delamination | Gap between liner and host pipe wall | Grease or grit left on the wall before insertion |
| Sag or belly | Liner dips where the host pipe dips | Host pipe already sagging, or liner unsupported during cure |
| Root re-entry | Roots at the liner ends or at a connection | Transition not sealed, or roots outside the lined length |
Notice how few of these are about resin quality. Four of the six are preparation and finishing failures: the wall was not clean, the branch was not opened, the liner was sized wrong, or the ends were never sealed.
Why preparation is the whole job
A liner bonds by contact. Grease, scale, and root mass left on the pipe wall hold the liner away from the host, and the gap becomes a path for water and roots. That is why a $300 to $800 jetting pass is not an upsell. It is the difference between a liner that contacts the wall along its full length and one that contacts it in patches.
Sizing is the second trap. A liner sized for a 4-inch pipe will not sit flat through a tight 90-degree bend, and forcing it produces the lengthwise fold that shows up on camera as a fin. An experienced crew measures the bends, not just the straight footage, and specifies a liner that can make the turn.
Cure control is the third. Resin needs time at temperature to set. A crew that shortens the cure to get to the next job leaves a soft patch that looks fine for a season and then deforms under the camera head. This defect is invisible from the surface, which is why the post-cure camera recording matters so much.
Diagnosing it without guesswork
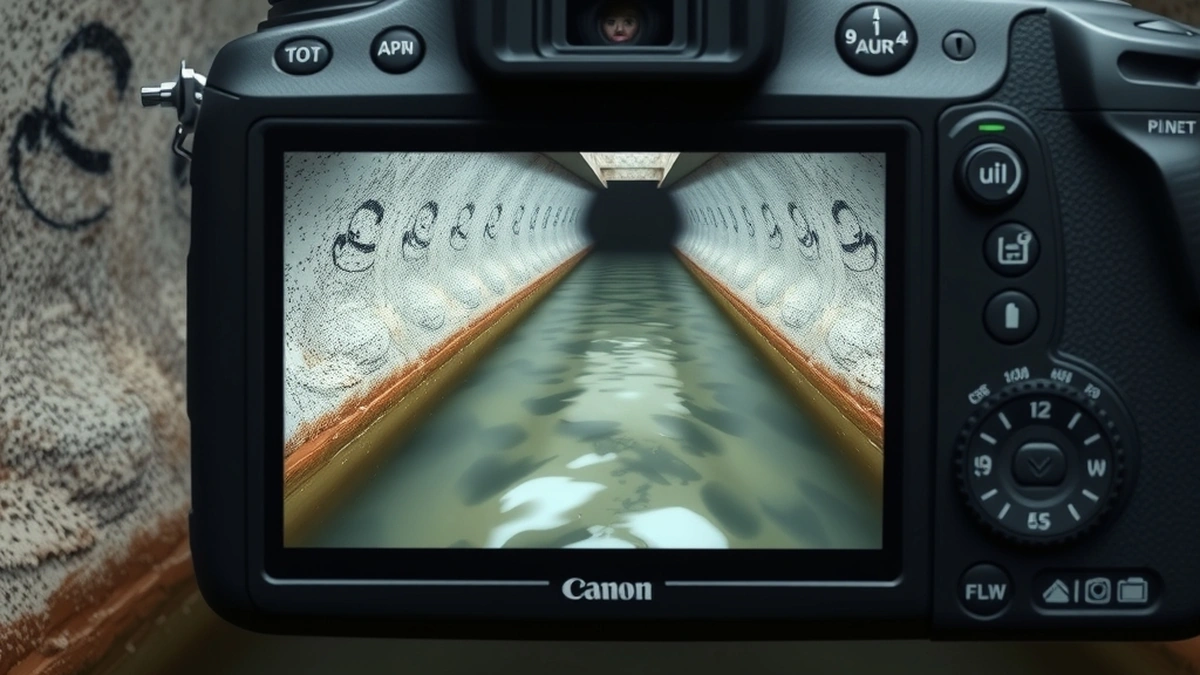
Start with a camera inspection at $200 to $500 from someone who did not install the liner. An independent recording with footage markers and a written report is the evidence a warranty claim needs. A repeat backup is a symptom; the camera pass tells you whether the cause is a fin at 32 feet, a closed branch at 48 feet, or roots entering at the far transition.
Ask for the footage to be called out on the recording, not just described. If the installer’s own recording from the day of the job still exists, compare the two. A defect present on day one is an installation issue. A defect that appears later at a joint is a maintenance issue.
What a fix costs
The repair cost scales with how much of the run is affected, and the numbers line up with the standard bands.
| Fix | Range | When it applies |
|---|---|---|
| Grinding or trimming a fin | $1,500–$5,000 (spot repair band) | One short obstruction, liner otherwise sound |
| Spot repair at one section | $1,500–$5,000 | Localized wrinkle, damaged branch, or a short failed length |
| Reline the run | $4,000–$12,000 | Defect runs most of the length, or the first liner failed cure |
| Replace the pipe | $5,000–$15,000 | Host pipe collapsed, lost shape, or multiple failures |
Work one example. A fin at 30 feet on an otherwise sound liner: a spot repair at $2,200 plus a $350 inspection plus $400 of cleaning is $2,950. The same defect left alone until it causes a basement backup adds an emergency call at $500 to $1,500, so the delay can cost more than the fix. A full reline at $7,500 plus $350 inspection is $7,850, which is still below a $9,000 replacement, but only if the host pipe is sound.
Lining again versus digging it out
When a liner fails, the instinct is to assume the pipe is finished. That is usually wrong. Relining at $4,000 to $12,000 is viable whenever the host pipe still holds its shape, because the new liner goes inside the old one and the old one is already protected from further corrosion.
Replacement at $5,000 to $15,000 becomes the answer when the host pipe has collapsed, when the run is back-pitched, or when two liners have already failed at the same location. Repeating the same method on the same defect without changing the preparation is how homeowners end up paying twice. Our guide to pipe bursting covers the failure modes on the replacement side so the two can be weighed honestly.
Warranty, evidence, and the call to the installer
Most lining warranties run several years and cover the liner as installed, but they typically exclude damage from caustic chemical dumping, mechanical augering, and roots entering outside the lined length. That makes the first conversation simple: state the symptom, hand over the independent recording, and ask for a written position on coverage.
Put the request in writing. A phone call produces a memory; an email produces a date, a defect description, and a response. If the installer offers to camera the line themselves, accept, but keep the independent recording as well.
What to do next
- Stop using caustic drain chemicals and mechanical augers on the lined section.
- Book an independent camera inspection at $200 to $500 and get the recording.
- Note the footage of every defect so the claim names a location, not a feeling.
- Send the installer a written claim with the recording and the warranty document attached.
- Get a second itemized quote before agreeing to any reline or replacement.
- If the liner is under a year old, ask for the cure log from the installation day.
Ongoing care after a repair is covered in trenchless lining maintenance, and the original price bands are explained in trenchless lining cost.
Frequently asked questions
What are the most common trenchless lining problems?
Wrinkles and fins at bends, service connections cut short, resin that did not fully cure, liner delamination from a dirty pipe wall, and roots re-entering at the transitions.
How soon do lining defects show up?
Connection and wrinkle problems often show within the first weeks to months as slow drains or repeat backups. Cure and delamination failures can take longer and usually appear as sagging or soft spots on camera.
Can a wrinkled liner be repaired without digging?
Sometimes. A short wrinkle can be ground or a spot repair can be made at the affected section for $1,500 to $5,000. A wrinkle running most of the run usually means relining at $4,000 to $12,000.
Does a failed liner mean the pipe must be replaced?
No. Replacement at $5,000 to $15,000 is the last option, used when the host pipe itself has collapsed or lost shape. Most liner defects are corrected inside the existing pipe.
Who pays when a new liner fails?
The installer, if the work is inside the warranty and the failure is not caused by misuse such as caustic chemical dumping or mechanical augering. Read the warranty before you sign.
How do I prove a liner defect exists?
Pay for a camera inspection at $200 to $500 with a recorded video and a written report noting footage and the defect. A recording from an independent plumber carries more weight than one from the installer.
Sources
Some links are affiliate links.If you buy through them we may earn a commission at no extra cost to you. We do not accept payment for rankings. Read the full disclosure.