Hydro jetting problems: what can go wrong
Hydro jetting problems range from a cracked clay pipe to a flooded basement. Here are the eight real failure modes, why they happen, and how to avoid each.
The main hydro jetting problems are damage to already-failing pipe, water backing up through a fixture, hose blowback at the cleanout, and root mats pushed downstream. Most are avoidable with a camera pass first and reduced pressure on clay, cast iron and Orangeburg.
- Typical visit
- $300 - $800
- Repair after damage
- $1,500 - $5,000
- Operating pressure
- 3,000 - 4,000 psi
- Camera first
- $200 - $500
Some links on this page are affiliate links.If you buy through them we may earn a commission at no extra cost to you. We do not accept payment for rankings. Read the full disclosure.
Most hydro jetting problems trace back to two decisions: whether the pipe was inspected before the nozzle went in, and how much pressure was used. A sound PVC line handles 4,000 psi without complaint. A 60-year-old clay line with offset joints does not, and the repair after a cracked section runs $1,500 to $5,000. The visit that would have prevented it costs $200 to $500.
The eight failure modes
Hydro jetting problems are a short list, and each has a known cause.
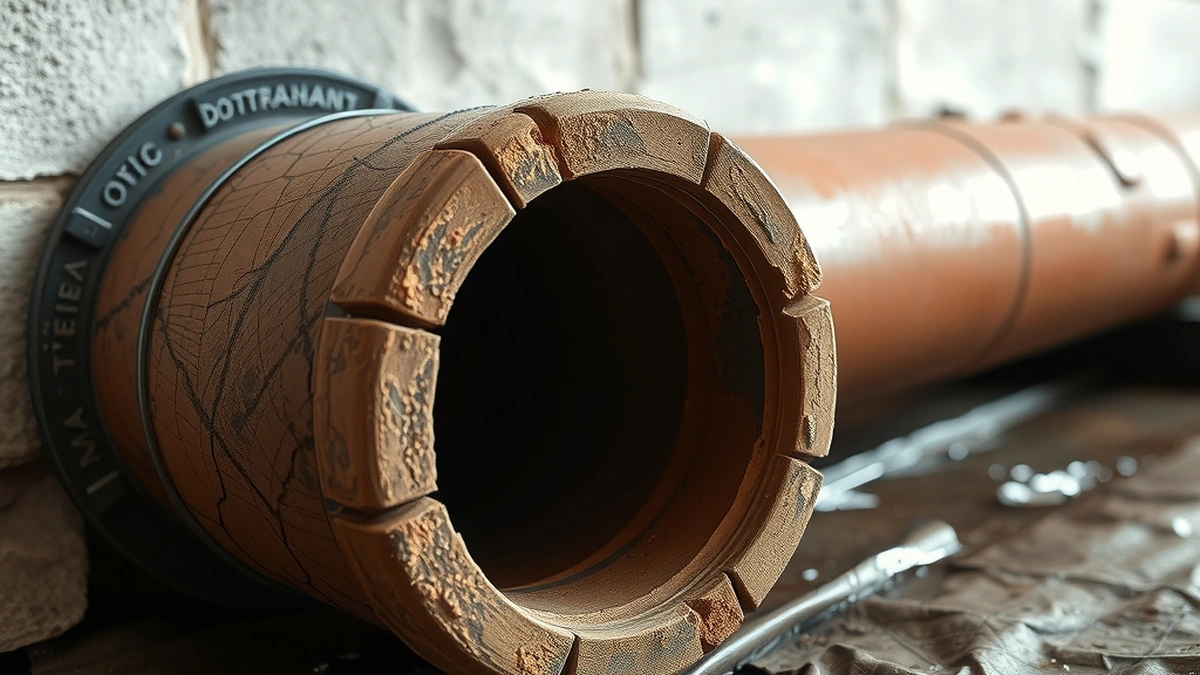
1. Cracking or collapsing failing pipe. The nozzle delivers 3,000 to 4,000 psi at close range. Clay tile that has shifted, Orangeburg that has softened, and cast iron thinned by decades of scale can fail under that. The damage is not the jetter’s fault in isolation; it is the combination of high pressure and a pipe that was already at the end of its life.
2. Water backing up through fixtures. If the line downstream is still partly blocked, the water has to go somewhere. The nearest low fixture — a basement floor drain, a tub, a toilet — becomes the relief point. This is why crews check flow before starting and why a second cleanout matters.
3. Hose blowback at the cleanout. The nozzle catches on a fitting, the hose kinks, pressure builds behind it, and the hose kicks back. It is an impact and pinch hazard. Crews secure the hose and stand to the side, and the fix on the customer side is simply to stay clear of the opening.
4. Roots pushed downstream. A flushing nozzle drives loose debris ahead of it. Roots that are not cut can pack into a downstream wye and make the blockage worse. A root cutter head avoids this; a camera pass after confirms it.
5. Scale delamination in cast iron. Old cast iron builds a tuberculated layer inside. High pressure can strip it in sheets, and those sheets can bridge a fitting. Gradual passes at lower pressure are safer.
6. Damaged traps and branch fittings. Jetting from a fixture instead of a cleanout puts full pressure on a P-trap and the branch behind it. Traps are not designed for that. Always jet from a cleanout or a pulled fixture, never through a trap.
7. Flooded basement or crawlspace. A cleanout that is not sealed, or one that is below the flood rim of the lowest fixture, can discharge into the space when pressure backs up. Check the cleanout cap and the elevation before starting.
8. No record of what was done. Not a physical failure, but the most common reason a second visit costs the same as the first. Without footage and nozzle notes, nobody knows where the last crew stopped.
Why pressure matters more than people think
| Pipe material | Typical condition | Safe practice |
|---|---|---|
| PVC or ABS | Sound | Full pressure, 3,000 - 4,000 psi |
| Clay tile | Offset joints common | Camera first, moderate pressure |
| Cast iron | Scale and thinning | Low pressure, gradual passes |
| Orangeburg | Soft, deformed | Do not jet; plan replacement |
| Concrete | Sound | Full pressure, abrasive heads avoided |
A $500 jetting visit on Orangeburg is money spent to make the pipe worse. Orangeburg is a pitch-impregnated fibre pipe used from the late 1940s into the 1970s, and it deforms rather than cracks. If a camera shows it, the conversation moves from cleaning to full replacement cost.
What the damage costs to fix
The repair price depends on what failed and where.
A cracked section under a lawn. Spot repair at $2,200 plus camera at $350 and sod at $250 is $2,800.
A collapsed section under a driveway. Excavation with concrete sawing and repour at $2,100, pipe at $900, permit at $150, camera at $350 is $3,500 before any lining decision.
A run that needs lining after damage. Trenchless lining at $9,000 covers the whole run and is often the cheaper answer once two or three sections have failed. Add the $350 camera and the total is $9,350, still inside the $4,000 to $12,000 band.
Compare each of those with the cost of prevention: a $350 camera pass before jetting. On any line older than 30 years, or any line that has blocked twice, the camera is the cheaper purchase by an order of magnitude.
How to avoid every one of them
- Ask for a camera pass before jetting on any line older than 30 years, or any repeat blockage.
- Tell the crew the pipe material if you know it, especially clay, cast iron or Orangeburg.
- Confirm the cleanout is sealed and accessible, and that it sits above the lowest fixture.
- Keep people and pets clear of the cleanout while the hose is under pressure.
- Ask for a post-jetting camera check on a line that has failed before.
- Stop after two passes if the line will not clear, and move to inspection rather than a third attempt.
When a problem is actually a diagnosis
A line that will not clear is telling you something. Two passes at $500 each is $1,000 spent confirming a blockage that a $350 camera would have explained the first time.
The pattern to watch for is repeat work. If the same line has been jetted three times in two years, the pipe is not dirty, it is failing. The options at that point are set out in collapsed pipe repair and trenchless lining vs full replacement. If the symptom is a backup rather than a slow drain, sewage backup repair covers the sequence to follow.
What to ask a contractor before they start
- What pressure will you run, and why that number?
- Have you seen this pipe on camera?
- Which nozzle, and will you change it if the first pass is not working?
- What is the plan if the line will not clear?
- Is the visit still billable if the pipe fails?
The last question is the one that reveals whether the crew has thought about the risk. A contractor who has jetting problems on their mind will have an answer ready, and it will usually involve stopping and calling you rather than pushing harder.
Frequently asked questions
Can hydro jetting damage a sewer pipe?
It can damage pipe that is already failing. Clay tile with offset joints, Orangeburg, and heavily scaled cast iron can crack or collapse under full pressure. Sound PVC and ABS handle it easily.
Why did water come up through my toilet during jetting?
The jetter pushed water faster than the line could carry it away, and the nearest fixture became the relief point. A partially blocked line downstream or a missing cleanout causes this.
What is hose blowback at the cleanout?
The nozzle catches on a fitting or the hose kinks, pressure builds, and the hose kicks back out of the opening. It is a pinch and impact hazard, which is why crews secure the hose and stand clear.
Can jetting push roots further down the line?
It can. A flushing nozzle drives loose material ahead of it, and roots that are not cut can pack into a downstream fitting. A root cutter head and a camera check prevent this.
Is jetting safe on cast iron?
Usually at reduced pressure. Old cast iron scales and thins internally, so a full-pressure pass can break it. A camera pass shows the wall condition before anyone decides.
What should I do if the line still backs up after jetting?
Stop cleaning and inspect with a camera. A line that will not clear after two passes usually has a belly, a collapse or a separated joint, all of which are repairs rather than cleanings.
Sources
Some links are affiliate links.If you buy through them we may earn a commission at no extra cost to you. We do not accept payment for rankings. Read the full disclosure.